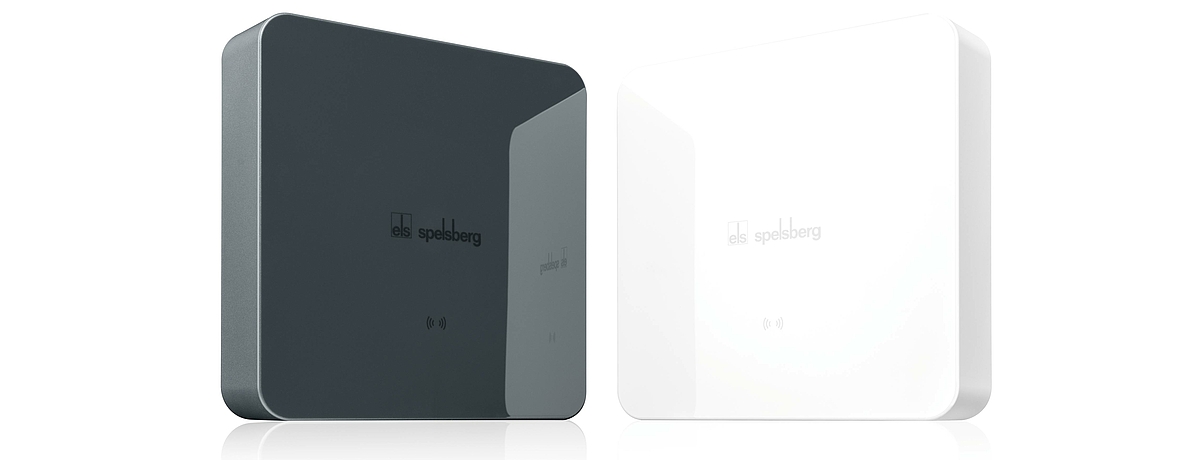
QuickStart: Spelsberg
  • Products
  • Pages
  • News
  • Distributors

Quick Start Guide | spelsbergwallbox

Download Spelsberg Wallbox App

1Safety Instructions

Safety Instructions

Please note the safety instructions in the product manual.

Risk of fatal electric shock

  • All work on the electrical components of the wallbox must be carried out by a certified electrician.
  • Observe the following safety rules before any work on electrical components:
  • Disconnect the power supply.
  • Secure it against being switched on again.
  • Check that all poles are de-energised.
  • Earth and short-circuit
  • Cover or enclose adjacent live parts.

For further information, please be sure to refer to the product manual.

Controls

  1. Type label below the design cover
  2. Connector type 2
  3. Cable management
  4. Status-LED, buzzer, RFID reader 

Accessories

The accessories are located in the back in the tabs in the packaging. 

2Controls
3App

Download Spelsberg Wallbox App

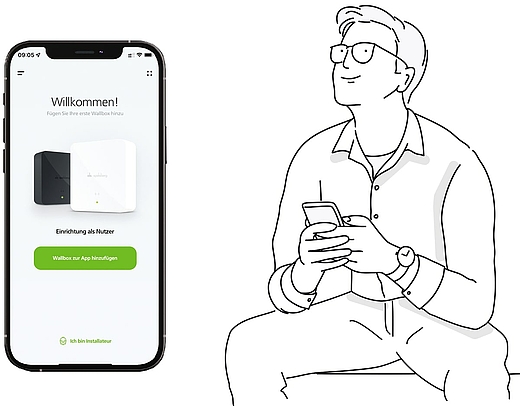
Download the App “Spelsberg Wallbox” 
on the “Play Store”
or “App Store”.

Setting up the Wallbox

  • Select menu item „Add Wallbox“. 
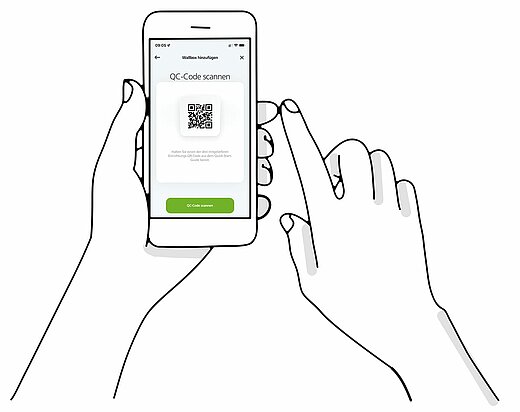
  • Scan the attached QR-Installation code with a NFC-capable smartphone and assign a name to your wallbox.

Network setup of Wallbox Smart Pro

The network setup is required to use all features.

Network connection via LAN

  • Disable the option „WiFi set up“.

Network connection via WiFi

  • Select the network to which the wallbox should be connected.
  • Enter the WiFi password.

Setup completion

  • Transfer all settings to the wallbox via NFC by holding your smartphone close to the RFID sign on the wallbox.
4Einrichtung
5RFID-Tags

Configure RFID-Tags

RFID tags are used for authorization and must be configured before they can be used for authorization at the wallbox.

  • Select „Permissions“ in the menu item „System“
  • Select the authorization mode „Authorization required“, and tap on „Add permissions“.
  • Follow the instructions.

Bedienung mit der App

  • Control charging* 
  • Statistics and billing*
  • Adjust settings of the Wallbox
  • Assign authorization

*only Smart Pro

For further information on settings for Spelsberg Wallbox App please refer to our FAQ www.spelsberg.com/support/wallbox/


    6App Control
    7Charging

    Charging

    • Switch off the vehicle.
    • Fully unwind the charging cable.
    • Take the protective cap off the vehicle charging plug.
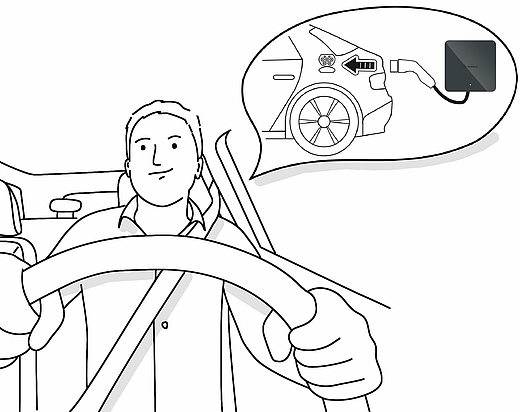
    • Insert the vehicle charging plug into the vehicle inlet.
    • Make sure the connector is correctly and completely plugged in.
    • Authorise the charging process at the wallbox if necessary.
    • Start the charging process on the vehicle.
    • The vehicle inlet locks the charging plug with an internal locking actuator. To end the charging process, follow the operating instructions of the electric vehicle.
    • The duration of the charging process depends on the capacity and state of charge  of the vehicle’s high-voltage battery and on the permissible charging power and parameters of the wallbox.The electric vehicle selects the actual charging power based on capacity and other parameters. 
    • During charging, the status LED of the wallbox pulses green.

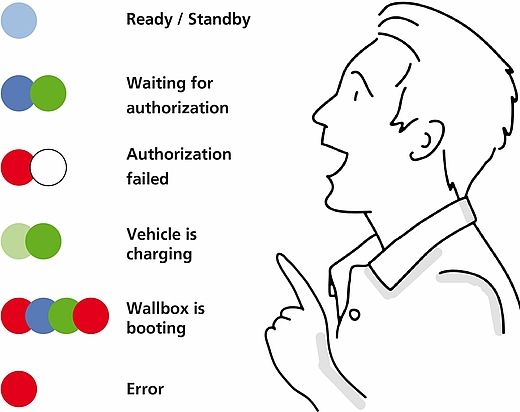
    Status LED and Buzzer

    LED and buzzer are integrated in the cover of the enclosure
    and indicate the status of the wallbox. 

    There are different statuses of the wallbox.
    The most important ones are listed on the left.

    8Status

    For further information, please refer to our online product manual.

    Add product to Watchlists

    Existing Watchlists

    New Watchlist

    organize Watchlist